What Happens After You Secure a Clinical Rotation? Your Next Steps
Getting accepted for a clinical rotation can feel like a huge relief.
After spending days or even weeks searching for a clinical preceptor, sending requests, checking your email, and wondering whether you will secure a placement before your deadline, finally receiving that acceptance message can feel like the finish line.
But it is not.
It is actually the beginning of the next stage.
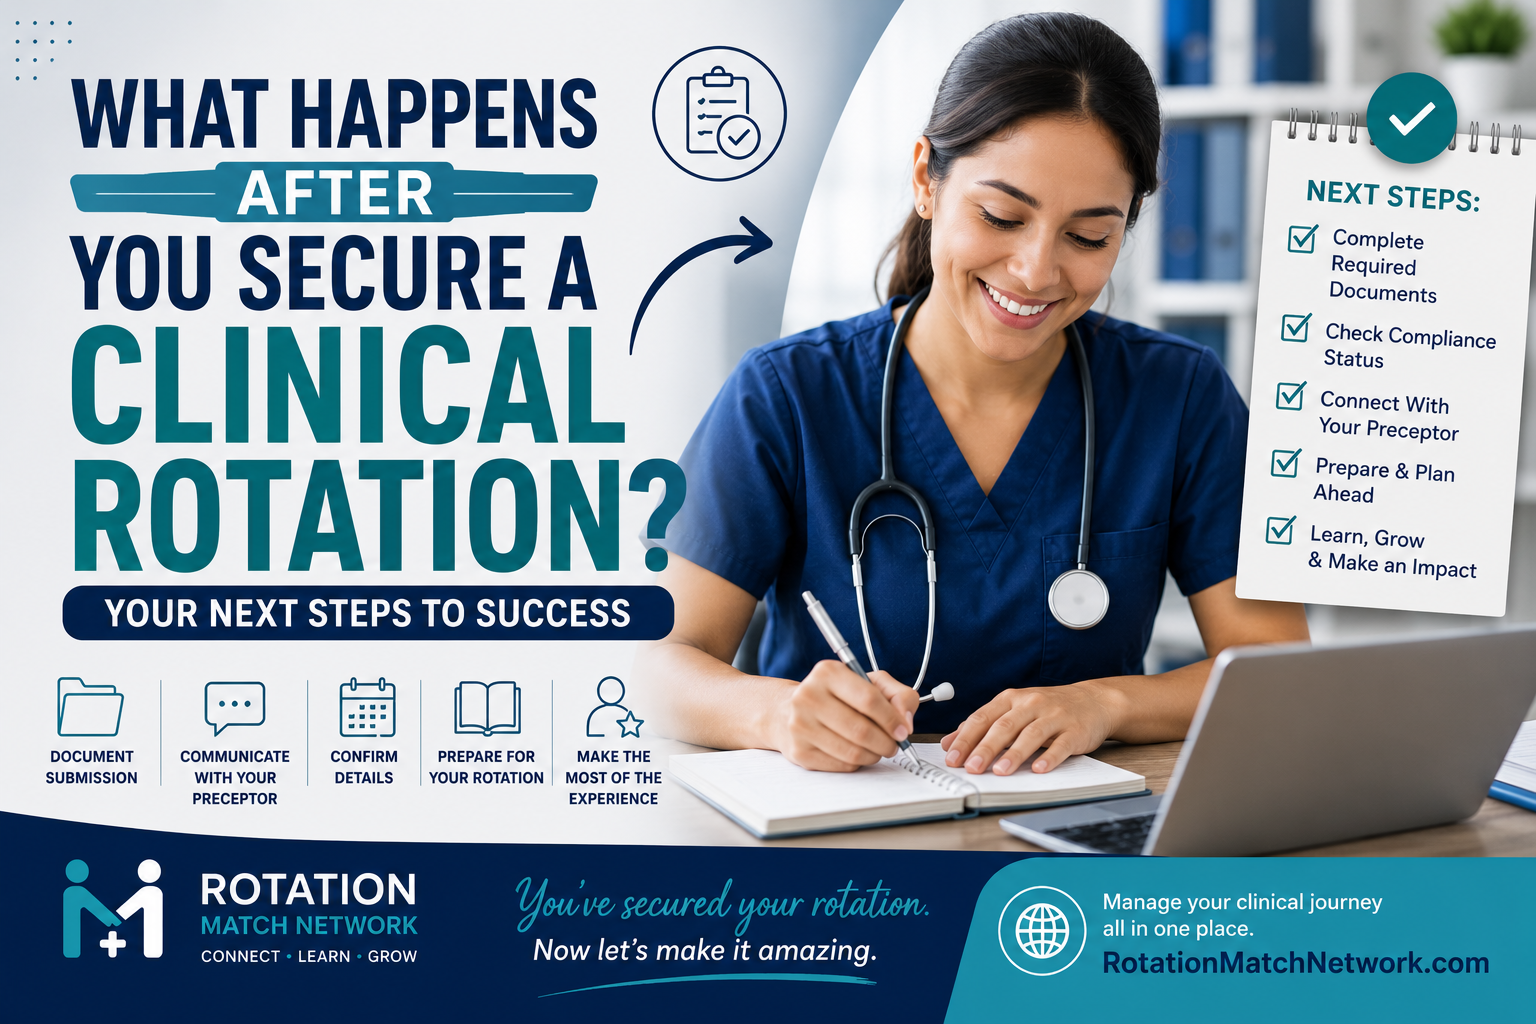
Once you secure a clinical rotation, there are still important steps to complete before you walk into your clinical site for the first time. You may need to submit documents, confirm your dates, communicate with your preceptor, complete school requirements, prepare for your clinical environment, and make sure you are genuinely ready to learn.
So, what happens after you secure a clinical rotation?
Here is what you should do next.
1. Celebrate, Then Confirm Your Placement
First, take a moment to celebrate.
Finding a clinical preceptor is not always easy, and securing your rotation is an important milestone.
But after celebrating, make sure your placement is officially confirmed.
Check your student dashboard, email, or placement information to verify:
Your preceptor's name
Clinical site or practice
Specialty
Rotation dates
Required clinical hours
Location
Any outstanding requirements
Your school's approval status
Do not assume that because a preceptor has said "yes" that every part of your placement is complete.
Some programs require additional approval or verification before a student can officially begin.
If you found your placement through Rotation Match Network, you can use your student dashboard to keep track of your application and placement status rather than trying to remember every detail yourself.
2. Complete Your Required Documents
One of the most important things to do after securing a clinical rotation is make sure your documentation is complete.
Your school or clinical site may require documents such as:
Immunization records
Background checks
Professional licenses
Certifications
Resume
Health records
Identification
School approval documents
Clinical agreements
Other program specific compliance documents
Requirements vary between programs and clinical sites, so always follow the instructions provided by your school and placement.
Do not wait until your first day to discover that an important document is missing.
Rotation Match Network allows students to upload and manage clinical documents through the platform, helping keep the placement process organized.
Having your documents in one place can make it easier to see what you have completed and what still needs attention.
3. Check Your Compliance Status
Submitting a document is not always the same as having your requirement approved.
Depending on your program, documents may need to be reviewed or verified before you are cleared for clinical participation.
That is why you should regularly check your compliance status after securing your rotation.
If something is missing, expired, rejected, or requires an update, address it as soon as possible.
A small documentation issue discovered weeks before your rotation is much easier to solve than the same issue discovered the day before you are supposed to start.
This is one reason organized clinical placement management matters.
Rotation Match Network is designed to connect placement coordination with compliance tracking so students can keep track of the requirements associated with their clinical experience.
4. Communicate With Your Preceptor
Once your rotation is confirmed, do not disappear until the first day.
Reach out to your preceptor.
A simple professional message can help establish a positive relationship before you even meet in person.
You can confirm:
Your start date
Your expected arrival time
The location
Parking instructions
Dress code
What you should bring
Your clinical schedule
Any orientation requirements
Your preceptor's expectations
You can also ask whether there are specific topics, conditions, procedures, or resources they recommend reviewing before you begin.
This conversation is important because every clinical site can operate differently.
Your school may provide general guidelines, but your preceptor knows the specific environment in which you will be learning.
5. Review Your Program's Clinical Requirements
Now that you have secured a placement, go back to your school's clinical requirements.
Review your:
Required clinical hours
Learning objectives
Required patient encounters
Clinical competencies
Documentation requirements
Evaluation requirements
Assignment deadlines
Logging requirements
Do not assume that securing a preceptor automatically means you have met every academic requirement.
Your rotation needs to provide the experience your program requires.
If you realize there is a potential mismatch between your placement and your program's requirements, address it early.
The earlier you identify a problem, the more options you have to resolve it.
6. Learn More About Your Clinical Site
Take some time to research where you will be completing your rotation.
Find out what type of facility it is, what population it serves, and what kinds of patients you are likely to encounter.
If you are completing a PMHNP rotation, for example, review common psychiatric conditions, medications, assessment approaches, and relevant clinical concepts.
If you are completing an FNP rotation, you may want to refresh your knowledge of common primary care presentations and preventive care.
If you are completing a PA or another healthcare program rotation, review the clinical topics most relevant to your specialty and placement.
You are not expected to know everything.
The goal is to arrive prepared enough to understand what you are seeing and ask meaningful questions.
7. Prepare for Your First Conversation With Your Preceptor
Your first conversation with your preceptor is an opportunity to establish expectations.
Be prepared to explain:
Who you are
What program you are enrolled in
What you hope to learn
What your clinical requirements are
How many hours you need
When your rotation begins and ends
What areas you would like more experience in
You should also ask your preceptor what they expect from you.
Questions such as "What would you like me to review before I start?" or "What can I do to make this rotation successful?" show that you are taking responsibility for your learning.
8. Prepare Your Clinical Supplies and Attire
Do not leave your physical preparation until the night before your first clinical day.
Find out whether you need:
Scrubs
Lab coat
Identification badge
Stethoscope
Clinical equipment
Notebook
Pens
Laptop or tablet
Comfortable professional footwear
Any additional items required by your clinical site
Check your school's dress code and ask your preceptor if there are additional expectations.
Being properly prepared may seem like a small thing, but it can make your first day significantly less stressful.
9. Plan Your Transportation
Know exactly how you will get to your clinical site.
Check the route ahead of time.
Consider traffic, parking, public transportation, or other factors that could affect your arrival time.
If possible, do a trial run before your first day.
You do not want your first morning to involve frantically searching for the building while your preceptor is waiting for you.
Aim to arrive early.
Punctuality is one of the simplest ways to demonstrate professionalism.
10. Keep Track of Important Communication
Once you have secured your rotation, you may receive several important messages.
Your school may contact you.
Your preceptor may send instructions.
The clinical site may provide information.
You may receive document or compliance updates.
Keep these communications organized.
This is another area where a centralized clinical placement platform can make life easier.
Instead of trying to remember which email contained which document or searching through different conversations to find your rotation details, Rotation Match Network gives students a centralized place to monitor applications, messages, documents, and placement progress.
11. Do Not Be Afraid to Ask Questions
Students sometimes worry that asking too many questions will make them appear unprepared.
The opposite can be true when questions are thoughtful and appropriate.
Your clinical rotation is a learning experience.
If you do not understand something, ask.
If you are unsure what is expected, clarify.
If you encounter a situation you have not seen before, use it as an opportunity to learn.
The key is to think before asking.
Instead of simply asking, "What is this?"
Try to think through the situation first and ask a question that demonstrates your reasoning.
For example:
"What findings made you consider this diagnosis?"
"Would you approach this patient differently if they had a different risk factor?"
"What should I pay particular attention to in this situation?"
Meaningful questions can turn ordinary clinical encounters into valuable learning experiences.
12. Set Goals for Your Rotation
Before your first day, think about what you want to accomplish.
Maybe you want to become more confident communicating with patients.
Maybe you want more experience with patient assessments.
Maybe you want to improve your clinical reasoning.
Maybe you want exposure to a particular patient population.
Write down a few realistic goals.
Then revisit them throughout your rotation.
Your clinical experience becomes much more valuable when you are intentional about what you want to learn.
13. Be Ready to Receive Feedback
Your preceptor will likely give you feedback throughout your rotation.
Some of it will be positive.
Some of it may highlight areas where you need to improve.
Do not be discouraged by constructive criticism.
You are not expected to arrive as an experienced healthcare professional.
You are there to learn.
Listen carefully.
Ask questions.
Make adjustments.
Then demonstrate that you have applied what you were taught.
One of the best ways to make a positive impression on a preceptor is to show growth throughout your rotation.
What If You Secured a Rotation but Still Have Questions?
It is completely normal to have questions after securing a clinical rotation.
You may wonder:
What documents do I still need?
Has my placement been fully approved?
When should I contact my preceptor?
Where do I find my rotation details?
What happens if my dates need to change?
How do I know whether my compliance requirements are complete?
These are exactly the kinds of details that can become difficult to manage when they are spread across emails, spreadsheets, school portals, and messages.
That is why having one organized clinical placement platform can be so useful.
How Rotation Match Network Helps After You Secure Your Rotation
Rotation Match Network is designed to support students throughout the clinical placement process, not simply help them find a preceptor.
After creating an account, students can use the platform to search for rotations, submit requests, track application status, upload required documents, communicate with preceptors, and manage their active rotation information.
Once you are accepted, the platform gives you a place to continue managing the next steps toward your clinical experience.
The goal is simple: make clinical placement coordination less confusing so students can spend more time preparing to learn and less time trying to figure out where everything stands.
You can learn more about how Rotation Match Network works by visiting RotationMatchNetwork.com.
Your Work Is Not Finished When You Get Accepted
Securing a clinical rotation is a major milestone.
But acceptance is not the end of your preparation.
It is the point where your preparation becomes even more important.
Confirm your placement.
Complete your documents.
Check your compliance status.
Communicate with your preceptor.
Review your clinical requirements.
Prepare for your first day.
Set learning goals.
And most importantly, arrive ready to learn.
The more organized you are before your rotation begins, the more confidently you can approach the experience.
Ready for the Next Step?
If you have secured your clinical rotation through Rotation Match Network, use your dashboard to stay on top of your applications, documents, messages, and placement information.
If you are still searching for a clinical rotation or preceptor, you can also use Rotation Match Network to explore available opportunities and submit placement requests.
Your clinical rotation is more than a requirement you need to complete.
It is an opportunity to develop your skills, learn from an experienced healthcare professional, interact with patients, and begin building the confidence you will need in your future career.
Get organized early.
Communicate clearly.
Prepare thoroughly.
And make the most of every clinical experience.
Your rotation is secured. Now it is time to get ready for what comes next.
Primary keyword:
what happens after securing a clinical rotation
Secondary keywords:
what happens after you secure a clinical rotation
what to do after securing a clinical rotation
what happens after clinical rotation acceptance
what to do after clinical rotation acceptance
clinical rotation next steps
steps after securing a clinical rotation
what happens after finding a clinical preceptor
what to do after finding a preceptor
clinical rotation preparation
clinical placement next steps
clinical rotation documents
clinical rotation requirements
how to prepare for clinical rotation